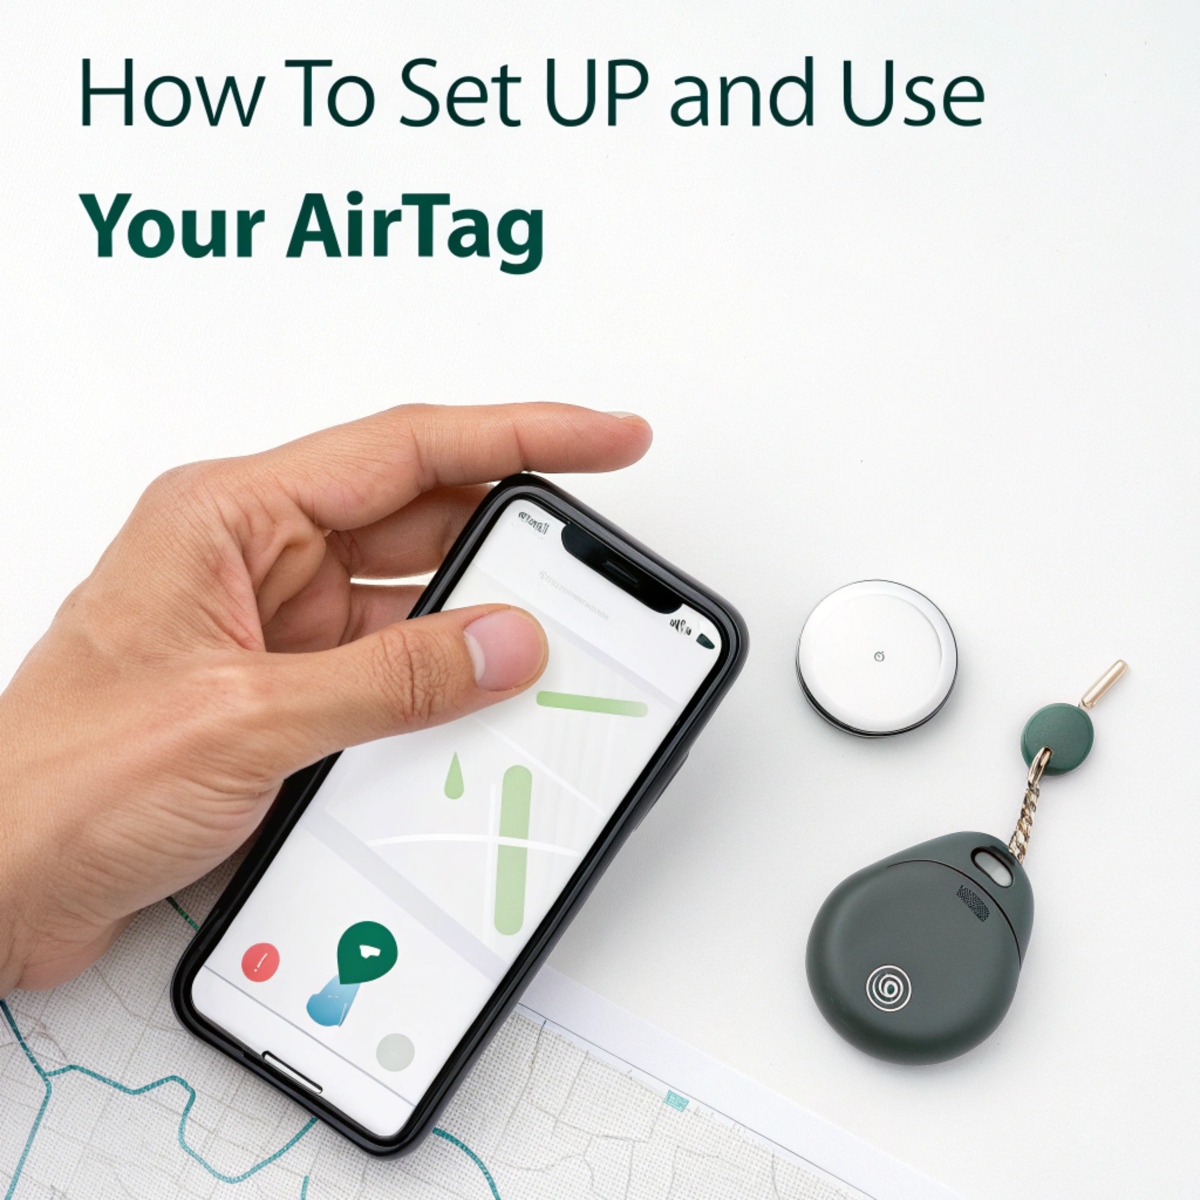
Apple’s AirTag is a small, easy-to-use tracking device that helps you keep track of your belongings, like keys, bags, or wallets. If you have just bought an AirTag, here is a simple guide on how to set it up and use it effectively.
Setting Up Your AirTag
- Unbox Your AirTag: Remove the AirTag from its packaging. Pull the tab to activate the battery.
- Bring It Near Your iPhone: Hold the AirTag close to your iPhone. A setup pop-up will appear on your screen.
- Follow On-Screen Instructions: Tap “Connect” and choose a name for your AirTag (e.g., “Keys” or “Backpack”).
- Assign It to Your Apple ID: The AirTag will automatically link to your Apple ID, ensuring only you can track it.
Using Your AirTag
- Track Items with the Find My App: Open the Find My app on your iPhone. Tap on the “Items” tab to see your AirTag’s location.
- Play a Sound to Find Nearby Items: If your item is close, tap “Play Sound” in the app to make your AirTag emit a sound.
- Use Precision Finding: For iPhone models with U1 chips, the Find My app provides directions to the AirTag, showing distance and direction.
- Enable Lost Mode: If you lose your item, activate Lost Mode. You’ll be notified when someone finds it and scans the AirTag.
Tips for Effective Use
- Replace the Battery When Needed: AirTags use a CR2032 battery, which lasts about a year. Replace it when you receive low-battery alerts.
- Attach Securely: Use an AirTag keyring or holder to attach it to your belongings.
Privacy and Security
AirTags are designed with privacy in mind. Location data is encrypted, and Apple prevents misuse by notifying nearby users if an unknown AirTag is following them.
Now that your AirTag is ready, you can track your items and find them easily whenever they go missing!

Leave a Reply